How Do You Reduce Window Glare on a Computer Screen?
Window glare is usually a room-layout problem before it is a screen-accessory problem. A bright reflection can wash out dark areas, encourage higher brightness, and make you lean or turn your head to see around it.
Use the reflection to find its source
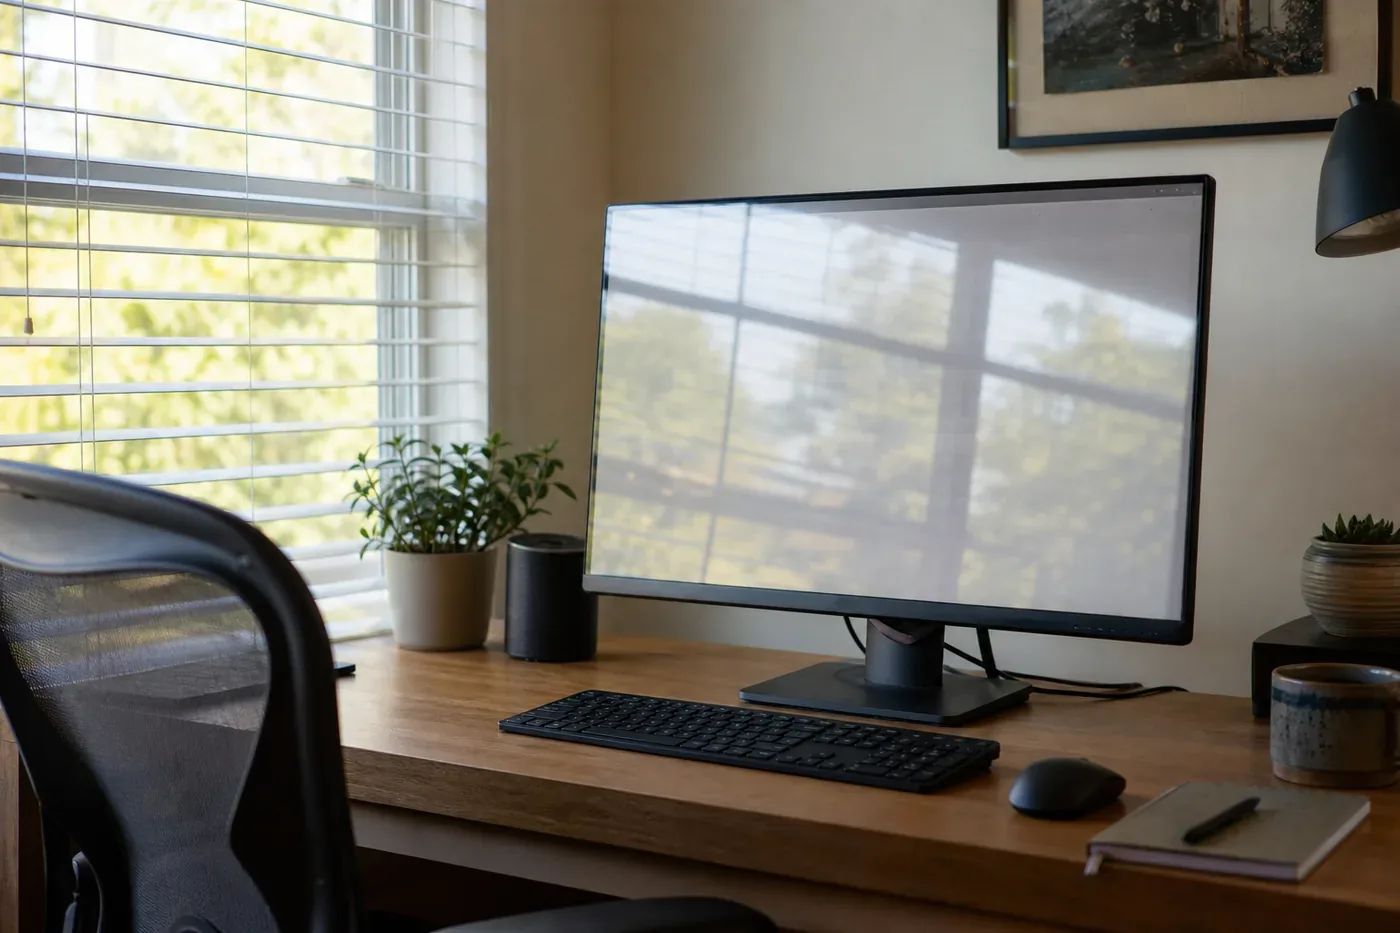
Turn the monitor off for a moment. The dark screen becomes a mirror that reveals the bright window, ceiling lamp, or desk lamp creating the reflection. Move your head through the normal working position and note whether the bright source stays in the center of the screen.
Glare may also come from a bright area behind the monitor rather than a direct reflection. A window behind the display creates a strong contrast between the screen and its background. A window behind you reflects into the screen. Both arrangements can be uncomfortable.
The U.S. Occupational Safety and Health Administration recommends placing the display at right angles to windows and other light sources. Its computer-workstation guidance also suggests blinds or drapes, shielded lighting, monitor cleaning, and task-light placement that avoids the screen.
Try these no-cost changes in order
- Rotate the desk or monitor. Aim for the screen face to be roughly perpendicular to the window rather than facing toward or away from it.
- Control only the problem light. Tilt blinds or close a curtain enough to block the bright reflection while keeping useful daylight in the room.
- Move the desk lamp. Point it at paper or the keyboard area, not toward the display. Keep the lamp itself out of the screen reflection.
- Clean the screen correctly. Dust and fingerprints scatter light. Turn the display off and use the manufacturer’s approved method and cloth; do not spray cleaner directly onto the panel.
- Adjust brightness and contrast. Match the display to the surrounding light instead of running maximum brightness in a dark room.
- Increase text size. If you keep leaning forward after glare is reduced, the remaining problem may be text size or viewing distance.
Keep the ergonomic setup intact
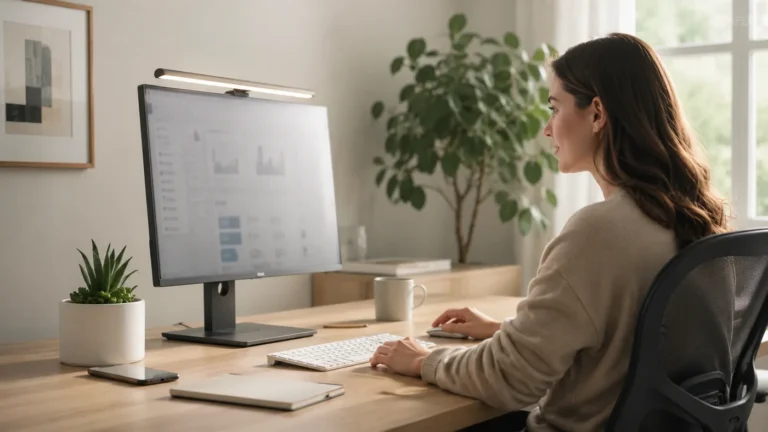
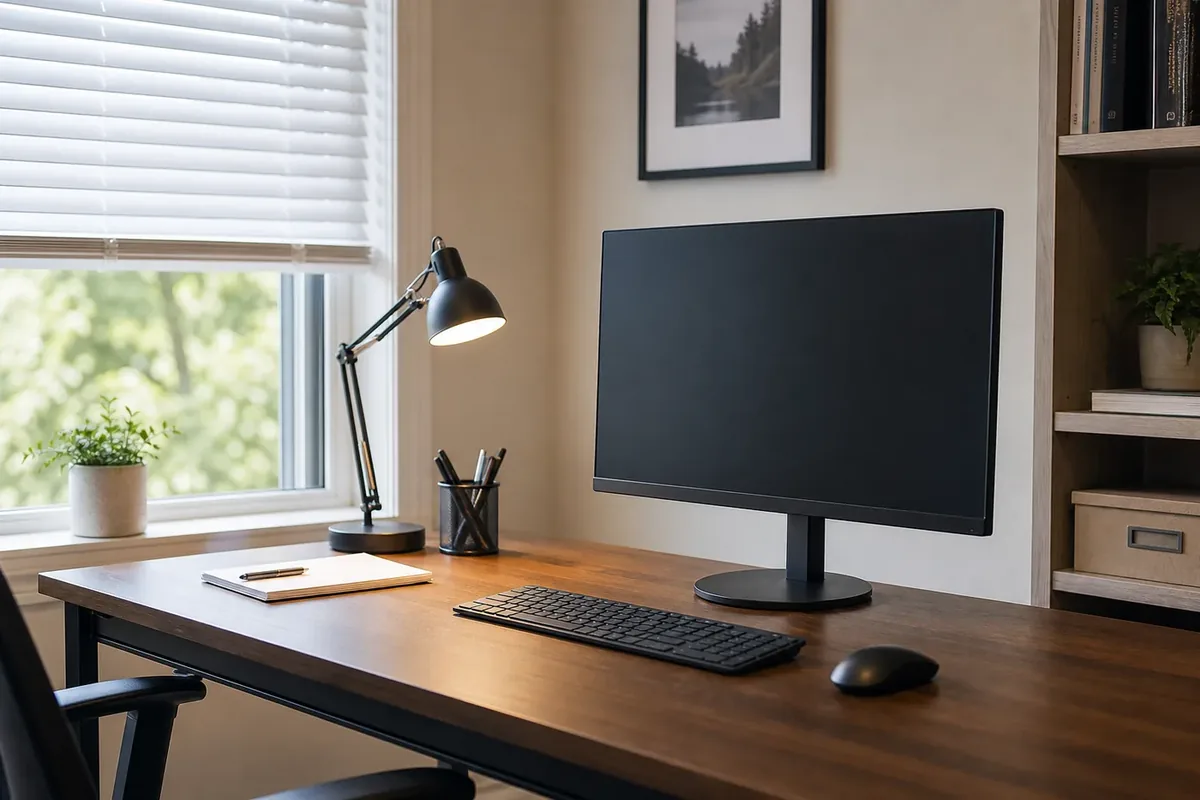
Do not fix glare by pushing the monitor to an awkward side angle. OSHA’s monitor guidance recommends placing the monitor directly in front of the user, with the top line at or below eye level and a typical viewing distance of about 20 to 40 inches (50 to 100 cm).
Move the desk, window covering, or light source before accepting a twisted neck. If the screen must be angled, keep the keyboard, chair, and primary display aligned so the head, neck, and torso face forward.
Tilting the monitor slightly can change a reflection path, but a large tilt can distort the view or catch ceiling lights. Make small changes and check them from the actual seated position.
What if the window cannot be covered?
A rental, shared office, historic building, or video-work setup may limit curtains and desk placement. A removable blind, freestanding light barrier, or monitor hood can sometimes control a specific source without touching the display. Check fire egress, building rules, and camera lighting before adding anything.
A matte anti-glare surface spreads a sharp reflection across a wider area. That can make the reflection less distracting, but it can also soften text, reduce contrast, and add a grainy appearance. It does not make direct sunlight safe for the display or solve a window shining into your eyes.
The Canadian Centre for Occupational Health and Safety states that controlling lighting and monitor placement is generally better than putting an anti-glare screen between the user and display because any added layer can compromise image quality. See its office eye-discomfort guidance. OSHA allows glare filters as one option when they do not significantly decrease visibility.
When an anti-glare film actually helps
A filter is reasonable when the desk and window are fixed, blinds cannot fully control the reflection, and a test on one screen shows the matte finish is acceptable. It is a poor match for color-critical photo or video work, very high-resolution text, touchscreens that reject added films, or a monitor with an existing anti-reflective coating that the maker says not to cover.
Measure the active display area, not only the advertised diagonal. Confirm aspect ratio, width, height, camera or sensor cutouts, adhesive or removable attachment method, screen-coating compatibility, touch and stylus compatibility, and return terms. A film cut for a 15.6-inch laptop may still have the wrong aspect ratio or bezel shape.
A current matte-film example
Affiliate disclosure: This section contains an affiliate link. If you buy through it, GadgetPickLab may earn a commission at no extra cost to you. The listing below is a marketplace example, not a hands-on-tested endorsement.
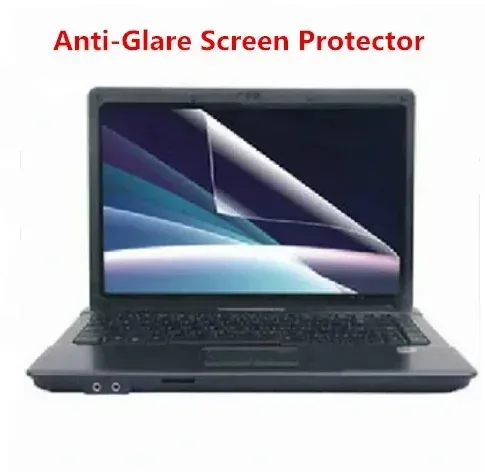
Two-piece matte laptop screen film
The listing image shows a matte film partly lifted from a laptop screen. The title lists several laptop sizes from 11.6 to 16 inches. Exact dimensions, aspect ratio, adhesive method, optical clarity, touch compatibility, and included tools depend on the selected option and were not independently verified.
- Listing snapshot checked: August 2, 2026
- Marketplace signals displayed: 37 orders and a 94.3% positive rating
- Still verify: exact screen width and height, aspect ratio, finish, attachment method, model compatibility, piece count, shipping, taxes, returns, and current seller rating
- Do not assume: the film will improve clarity; matte layers trade sharper reflections for some loss of contrast or sharpness
Check current screen sizes and options
Options, specifications, availability, order count, rating, price, shipping, and included parts can change after the research date.
This listing has a modest order count and is not evidence that the film suits a specific display. Measure first and choose a seller with return terms that allow you to reject poor fit or clarity.
Install only after a dry fit
- Check the display manufacturer’s guidance on films and cleaners.
- Power down and unplug the device if its instructions call for it.
- Hold the unpeeled film over the display to confirm size, aspect ratio, camera clearance, and orientation.
- Clean the screen using only an approved method and let it dry.
- Work in a low-dust room and follow the film instructions without forcing the panel or bezel.
- Check text, dark images, touch input, webcam view, and color before deciding to keep it.
Remove the film if it creates rainbow patterns, trapped debris, touch problems, distracting grain, reduced webcam function, or eye strain. Do not use sharp metal tools on the screen.
Frequently asked questions
Should the monitor face the window?
Usually no. Facing the window puts a bright source behind the display; facing away can reflect the window into it. A position at right angles to the window is the usual starting point.
Does higher brightness remove glare?
It may make content more visible temporarily, but it does not remove the reflection and can create excessive contrast in dim surroundings. Control the light path first, then set brightness for comfort.
Is matte always better than glossy?
No. Matte surfaces reduce sharp reflections but can scatter light and soften fine detail. Glossy screens may preserve contrast in controlled lighting. Choose based on the room and work.
Fix the room before covering the screen
Rotate the monitor, manage the blinds, move the task lamp, clean the panel, and align the workstation. Those changes preserve image quality and cost nothing. Add a measured anti-glare film only when the environment cannot be changed enough and the optical tradeoff is acceptable.