Why Does a Reusable Water Bottle Still Smell After Washing?
A reusable bottle can look clean and still smell when the odor is coming from the cap, straw, gasket, valve, or a damp storage habit rather than the main bottle wall. Washing only the visible interior often leaves the smallest channels untouched.
Find the actual source of the smell
Smell each dry component separately before washing again. The bottle body may be neutral while the silicone gasket or straw holds the odor. Sweet drinks, protein shakes, milk, coffee, flavored water, and drink powders leave more residue than plain water, especially in threads and valves.
Check these areas:
- the underside of the lid and the drinking spout;
- threads on both the bottle and cap;
- the full inside length of a straw;
- silicone gaskets and the groove beneath them;
- bite valves, sliders, and flip-top hinges;
- scratches, cracks, cloudy areas, or damaged coatings.
Do not pry out a gasket that the maker says is fixed. Some caps contain small parts that must be reinstalled in a specific direction to prevent leaks.
Use the maker’s instructions before a home recipe
Materials differ. Stainless steel, plastic, silicone, painted coatings, vacuum insulation, and printed finishes do not all tolerate the same dishwasher cycle, bleach concentration, abrasive, or heat.
Nalgene’s cleaning guidance recommends warm soapy water and a bottle brush for routine care. Its FAQ advises letting a bottle dry completely and storing it with the cap off to improve air circulation and reduce odor.
CamelBak’s care page shows why product-specific instructions matter: compatible caps, valves, and straws can be disassembled and cleaned separately, but the allowed dishwasher position and disassembly steps depend on the product.
A thorough cleaning routine
- Empty the bottle promptly after use.
- Consult the product instructions and remove only the cap parts, gasket, valve, or straw designed to come out.
- Wash the bottle body with warm water, dish soap, and a clean bottle brush.
- Use a narrow brush through the full straw. Move it from both ends when possible.
- Use a small detail brush around threads, hinges, gasket grooves, and the underside of the spout.
- Rinse until no soap remains.
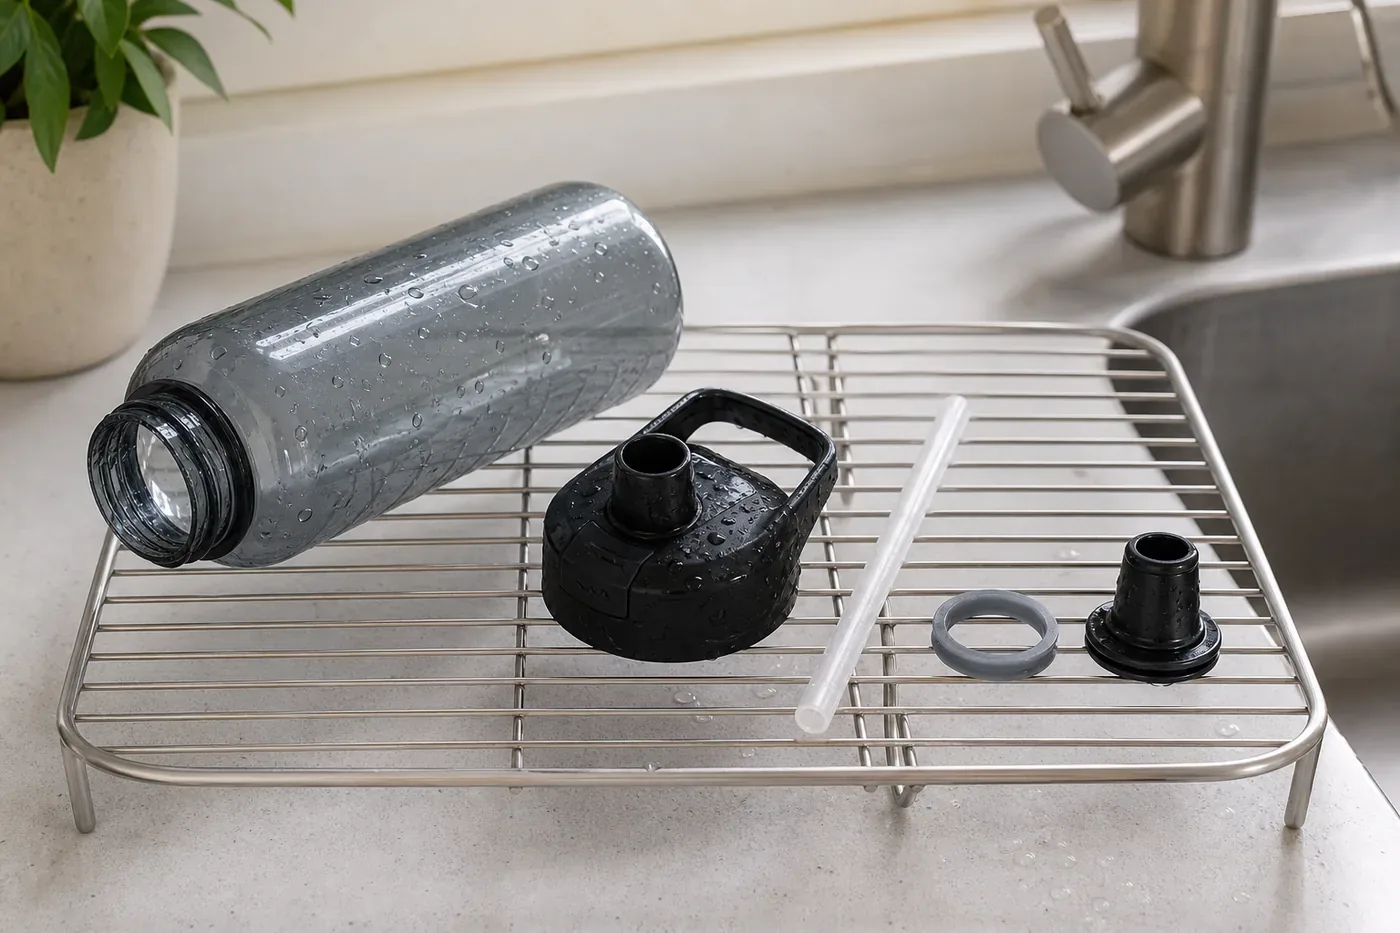
- Place every part separately where air can reach it. Keep the cap off until all hidden surfaces are dry.
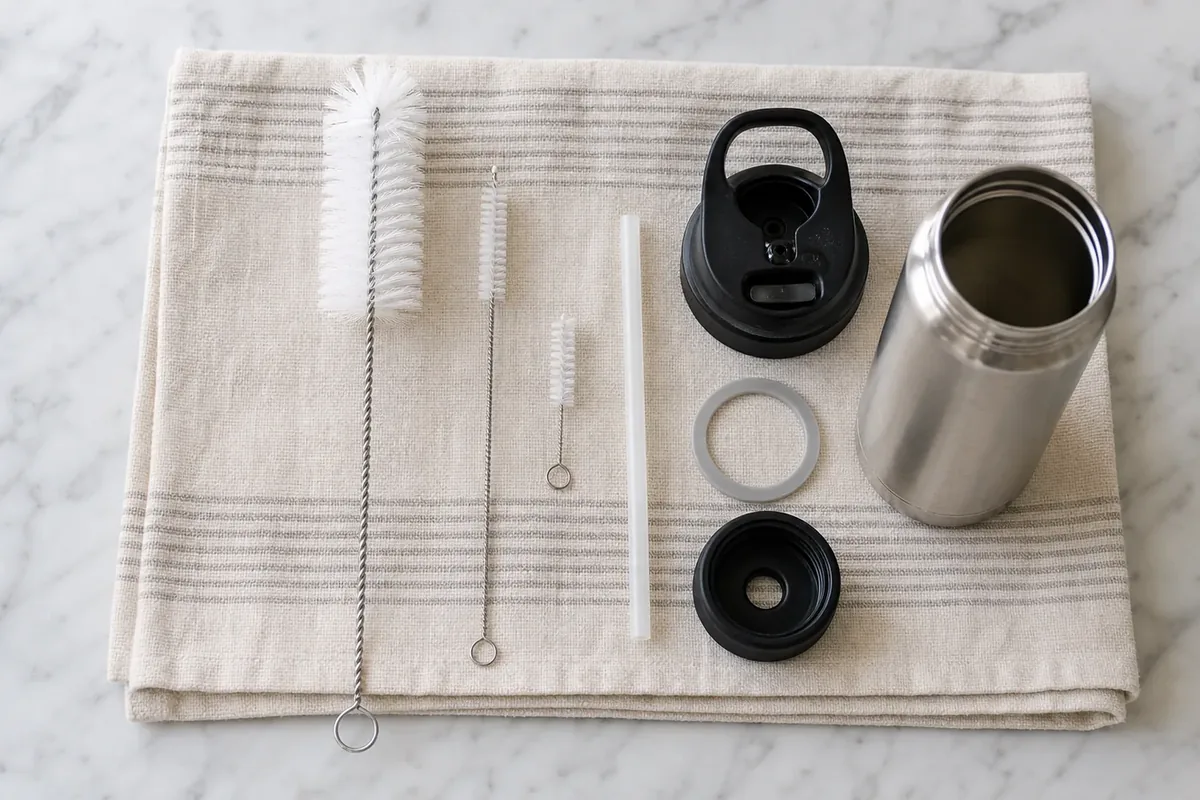
Wash the brushes after use and let them dry too. A brush kept wet in a sealed drawer can bring odor back to a clean bottle.
Why drying is part of cleaning
Reassembling a wet cap traps moisture in the least ventilated places. Set the bottle at an angle so water can drain and air can enter. Place small parts on a clean rack or towel where they cannot fall into the sink or garbage disposal.
Do not close the bottle for storage merely to keep dust out unless everything is completely dry. A clean breathable cover over the opening is better than sealing residual moisture inside. For daily use, leave the cap loose or off between fills.
When to sanitize, and when to replace
If the maker provides a sanitizing method, follow its concentration, contact time, rinsing, and material restrictions exactly. Do not combine bleach, vinegar, ammonia, peroxide, dishwasher products, or other cleaners. More chemistry is not automatically more cleaning.
Replace a damaged gasket, straw, valve, or bottle when cracks, persistent slime, deep scratches, corrosion, a failing coating, or an inaccessible contaminated cavity remains after proper cleaning. A low-cost replacement part can be more sensible than repeatedly soaking a damaged cap.
For a bottle with a persistent smell after the correct cleaning and full drying routine, contact the manufacturer. The odor may be trapped in a material or component that should be replaced.
When a brush set actually helps
A normal dish brush may be too wide for a narrow bottle neck and too short for the base. A bottle brush solves reach; a straw brush solves the hollow tube; a small detail brush solves threads and gasket grooves. Buying a set makes sense only when those inaccessible surfaces are the remaining problem.
Check the longest bottle depth and narrowest opening. The brush head must enter without forcing, the handle must reach the base, and the bristles should not scratch the material. A wire-centered straw brush should have a protected tip and a diameter that fits without jamming.
A current long-handle brush example
Affiliate disclosure: This section contains an affiliate link. If you buy through it, GadgetPickLab may earn a commission at no extra cost to you. The listing below is a marketplace example, not a hands-on-tested endorsement.
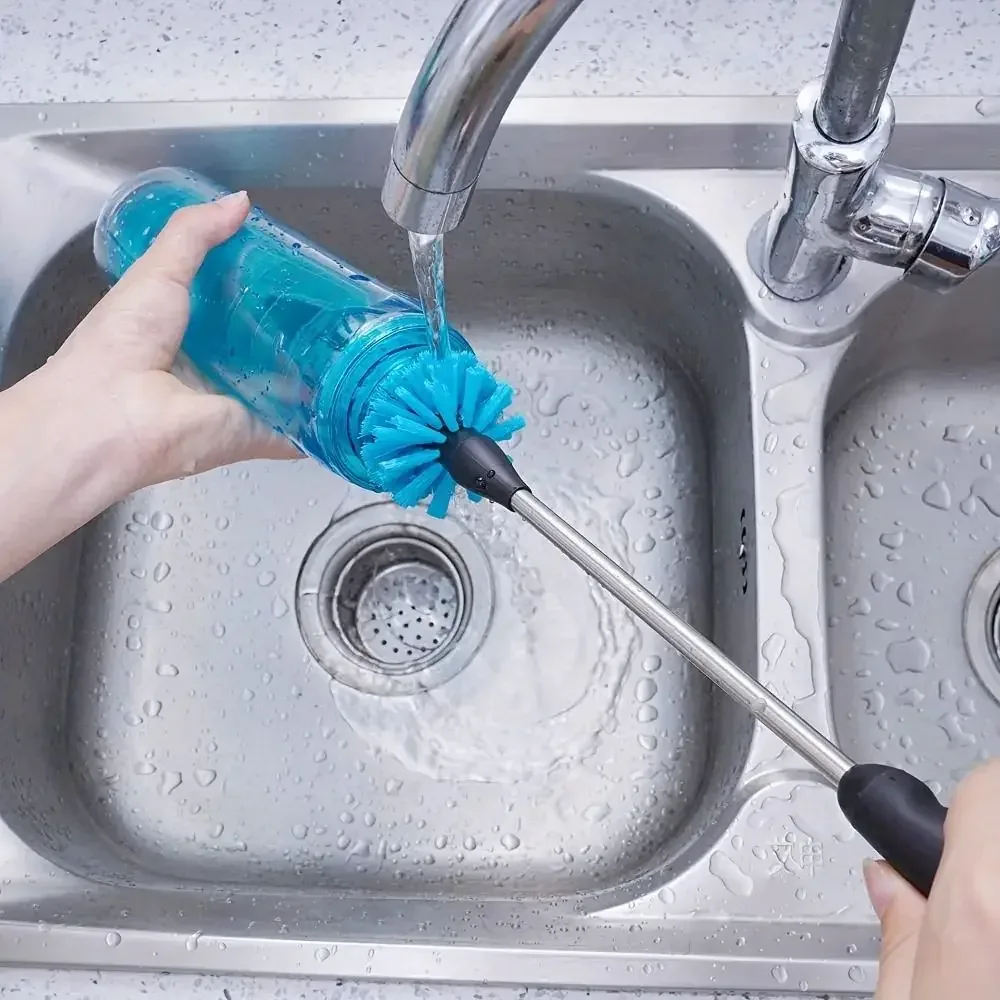
Long-handle reusable bottle brush set
The listing image shows a long metal handle and a blue brush head reaching through a narrow bottle opening. The title describes a multi-brush set, but the exact brush count, dimensions, materials, and suitability for coated bottles depend on the selected option.
- Listing snapshot checked: August 2, 2026
- Marketplace signals displayed: 1,342 orders and a 98.0% positive rating
- Still verify: selected brush count, head diameter, handle length, bristle material, protected tips, shipping, taxes, returns, and current seller rating
- Do not assume: every brush is safe for every bottle coating, valve, or straw
Check current brush sizes and options
Options, specifications, availability, order count, rating, price, shipping, and included parts can change after the research date.
Common mistakes
- Cleaning the bottle body but leaving the cap assembled.
- Using the dishwasher without checking whether the exact cap and coating are dishwasher-safe.
- Scratching plastic or a lining with a sharp wire tip.
- Reassembling parts while water remains in a groove.
- Storing the bottle tightly closed.
- Using a strongly scented cleaner and mistaking its fragrance for cleanliness.
- Keeping a cracked straw or gasket that cannot be cleaned fully.
Frequently asked questions
Is baking soda always safe for bottle odor?
No single home recipe is correct for every material and coating. Use only methods approved by the bottle maker, and never mix cleaning products.
Can a bottle smell even when I use only water?
Yes. Saliva, damp cap parts, and storage with the lid closed can still create odor. Clean the drinking surface and cap regularly, not just the body.
Should I remove the silicone gasket every day?
Follow the manufacturer. Some removable gaskets benefit from regular separate cleaning, while other seals should not be pried out after every use.
Clean the hidden parts, then let them breathe
Most repeat odor problems become easier once the bottle is treated as several components rather than one container. Disassemble as directed, use the right-size brush, rinse completely, and dry every piece before closing it. Buy a brush set only when reach is the part your current tools cannot solve.