How to Set Up a Casual Movie Screen Without Permanent Gear
Quick Answer
Setting up a casual movie screen without permanent equipment usually starts with fixing the room, not buying gear: clear a flat wall or hang a simple portable screen, block extra light, and give the projector or laptop a stable, level position. A smart sensor gadget or a compact portable projector can help when you want faster setup, easier placement, or fewer cable hassles. Skip it if you only do this once in a while and a sheet, wall, or borrowed stand already solves the annoyance.
- Best for: Small rooms, temporary presentations, and occasional movie nights.
- Skip if: Your wall is usable and setup already takes only a few minutes.
- Check first: Distance to wall, light control, sound placement, and cable reach.
When This Setup Makes Sense
This is for people trying to make a temporary screen setup feel tidy enough to use without turning the room into a permanent theater. The real problem is usually not the image itself. It is the routine around it: where the device sits, how long cables need to be, and what to do with everything afterward.
- You want a movie night setup that can disappear into a closet or shelf afterward.
- You need a presentation screen for a living room, spare room, or shared space.
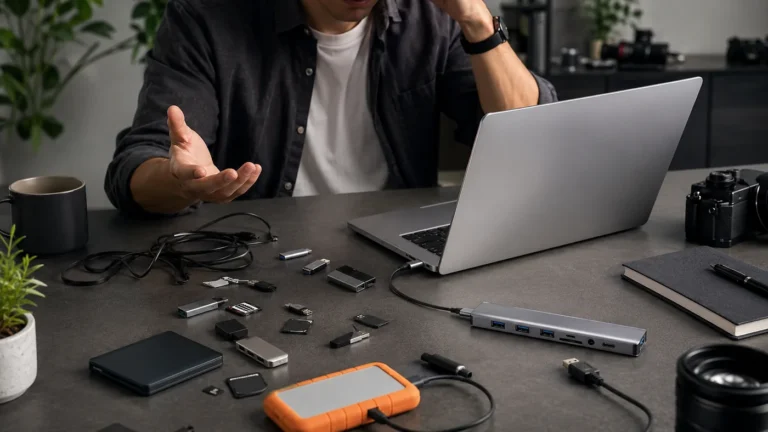
- You keep running into small annoyances, like a charger falling behind a desk or a cable pressing against a laptop edge.
- You do not have room for a fixed screen, ceiling mount, or permanent speaker placement.
- You want something simple enough that other people can set it up without a long explanation.
Why the Setup Breaks Down
A casual screen setup fails when the room is doing too much work for the gear. Reflections, uneven wall color, weak blackout control, and awkward device placement all make a temporary screen feel harder than it should. Even a decent projector can look annoying if the image has to bend around furniture or if the cable only reaches by crossing a walkway.
The same is true for presentations. If a laptop sits too close to the edge, a connector can get bumped loose. If the audio is too small or too loud, it bothers people nearby. That is why the first fix is usually a routine change, not a purchase.
A smart sensor gadget or a portable projector starts to make sense only after the setup problem is clear: you want less fiddling, not more equipment.
A Practical Setup Sequence
- Choose the cleanest surface you already have, ideally a light wall with little texture.
- Block the strongest light source first, since glare usually ruins a casual screen faster than size does.
- Measure the throw distance and cable reach before moving anything into place.
- Place the projector, laptop, or media source on a stable surface with ventilation room.
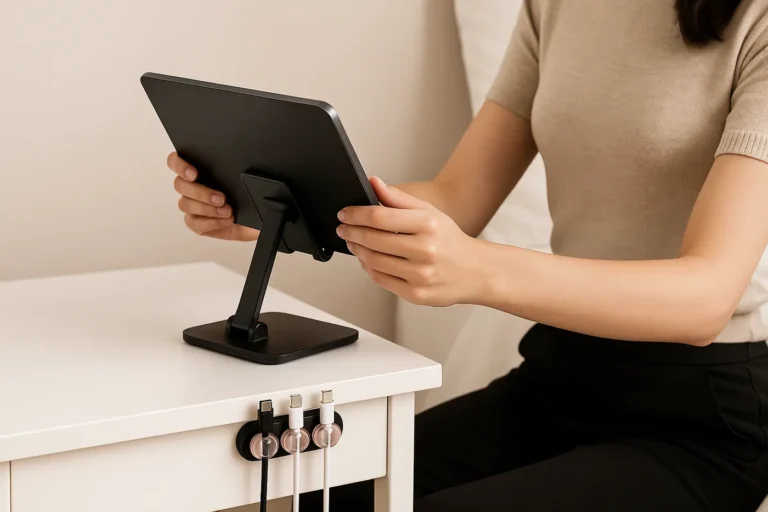
- Route cables away from edges and feet, and avoid forcing a plug that sits under tension.
- Test sound, focus, and screen alignment before inviting people to sit down.
That simple checklist is usually enough for occasional use. If it still feels clumsy after those steps, the problem is probably setup fit, not your willingness to tinker.
Fast Comparison Table
| Option | Best for | Watch out for |
|---|---|---|
| Wall only | Fastest casual viewing | Texture and light spill |
| Portable screen | Clearer image, still temporary | Storage space and setup time |
| Compact projector | Shared movie nights, presentations | Distance, cooling, and sound |
| Sensor-assisted gear | Quicker placement changes | Extra steps if unnecessary |
What to Check Before You Choose
Before buying anything, look at the routine you actually want to repeat. A setup that fits your storage space, cable length, and room layout will feel easier than a fancy option that needs special handling every time.
- Check whether the image area is clear of shelves, frames, or bright lamps.
- Check storage space for a screen, stand, or any folded support parts.
- Check connector compatibility so you do not need several adapters for one session.
- Check reach distance for power, audio, and source devices.
- Check whether the setup can be done by one person without moving heavy furniture.
Helpful Tools That Fit This Problem
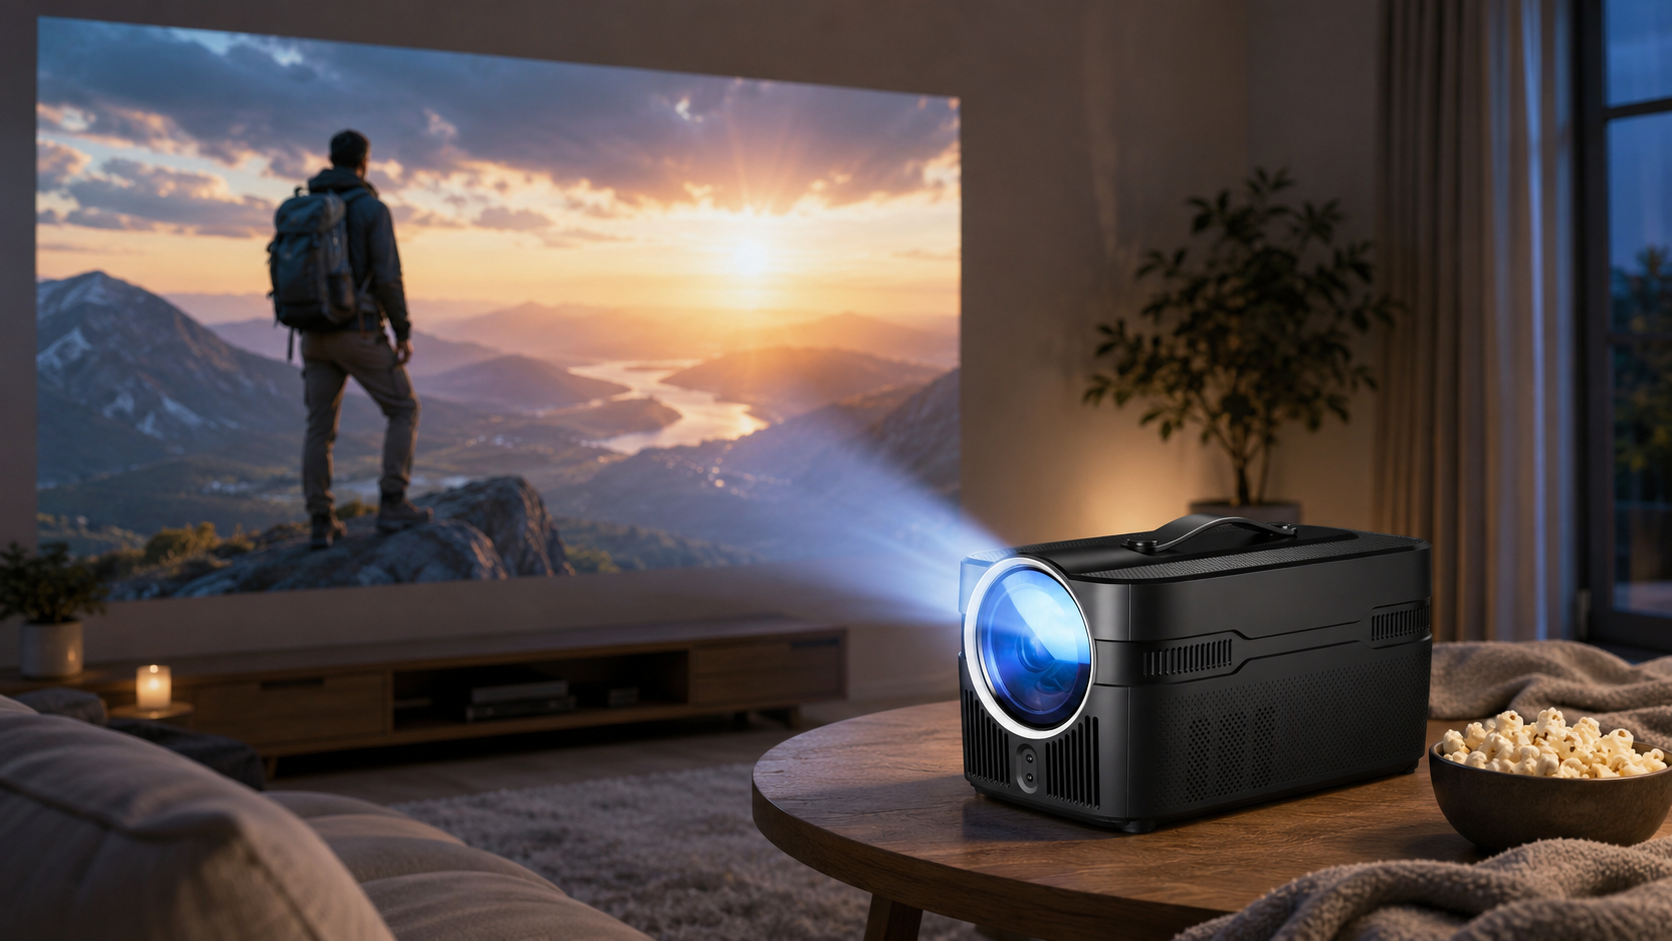
Gadgets help most when the annoyance is repeated and specific: a screen that must be set up often, a device that needs cleaner placement, or a room where the source and display never line up neatly. In that kind of setup, a compact projector or a smart sensor gadget can be a practical example of a tool that reduces fiddling, especially if you want easier alignment or more flexible placement. The Magcubic HY450C 4K 1080P Smart Wifi Projector Native Portable Netflix Mini Projector is one example of this type, but it should be treated as a reference point rather than a requirement.
Who should skip this: If your wall already works, your cable run is short, and your setup only happens occasionally, skip the extra gadget and keep the routine simple.
One AliExpress example that matches this tool type is included below. Use it as a reference point, then check the listing details, compatibility, and fit yourself.

What to Avoid
Most failed casual screen setups are not caused by weak hardware. They are caused by poor placement, awkward habits, or trying to solve everything at once.
- Putting the screen where a lamp or window throws glare across it.
- Using a device before fixing the cable route, which leads to loose plugs and clutter.
- Choosing gear that needs more storage space than the room can spare.
- Buying a gadget to replace a simple wall, sheet, or stand that already works.
- Ignoring sound placement until the speaker bothers people nearby.
- Forcing a setup that only works if furniture stays in one exact position.
Quick Questions
How do I set up a casual movie screen without permanent equipment?
Use the simplest stable surface you already have, control the light, and keep the source device and cables short and secure. That is usually enough for a movie night or a small presentation.
When is a gadget worth adding to the setup?
A gadget is worth adding when the same annoyance keeps coming back: hard placement, messy cable routing, limited space, or a setup that takes too long to repeat. That is where this type starts to make sense.
Who should skip a smart sensor gadget or compact projector?
Skip it if you only need a casual screen once in a while and a wall, sheet, or borrowed stand already works. Also skip it if storage is tight and the device would create a new hassle.
What is the biggest mistake in a temporary presentation screen setup?
The biggest mistake is ignoring room fit. If the distance, light, or cable direction is wrong, even decent equipment feels inconvenient.
Affiliate Note
This article may mention product types as practical examples of temporary screen setup tools. Any reference is for general information about solving the setup problem, not a claim that a specific listing was tested or reviewed here.